

Posted on: 2017-10-04
 Hub
HubFor all things cosmetics and toiletry making!
Lettie Pringle from Bubble Trouble talks us through some simple beginners tips and tricks to using Melt & Pour Soap. Bubble Trouble is a local, family-run artisan soap company based in the heart of the Scottish Borders. They use melt and pour soap techniques to create unique products that are as fun to display as they are to use.
I was once told that ‘to succeed you first have to fail’. As a newbie to the soap making world, this sentiment has rung true on many occasions. I have failed numerous times when making soap but feel this has made me more driven than ever to make a success of Bubble Trouble soap. It is amazing how many tips and tricks you can pick up in the course of learning how to do something – some are so obvious you kick yourself and others are more challenging. Melt and pour is sometimes seen as ‘the cheat’s’ way of soap making, but I can vouch that it is sometimes not as easy as it looks. Here I share some of the tips and tricks I have learnt so far. When I first started out, it was very basic, melt the base, add fragrance and colour and put into a mould, easy as pie. I craved something more, something more than just a mould. This is when the real experimenting happened.
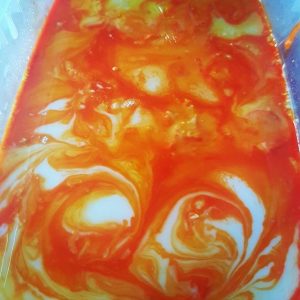
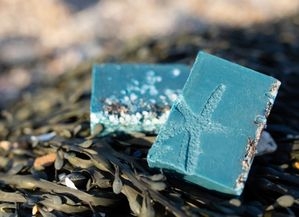
Figure 1: Melt and Pour swirls done with a spoon
Yes, an obvious one to start. As melt and pour can set in a few minutes it is important you have everything close by, for example, if you need a lollipop stick to make swirls have that beside you, if you are mixing in extra ingredients that will make the mixture more gunky such as clay, make sure you have it all measured out beforehand. I have learnt this the hard way!
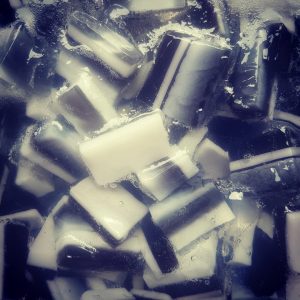
Figure 2: Living up to the Bubble Trouble name, so many bubbles
Some of the most basic tips I picked up from YouTube videos. I watched loads of these in my spare time. At the very beginning, I struggled with bubbles, I would try to blow them away to no avail. I then discovered spraying a small amount of rubbing alcohol onto the soap before it sets gets rid of bubbles – easy, but wish I had known this from the start! Would have saved many an hour blowing on the soap/ getting a knife to pop bubbles and leaving pockmarks in it.
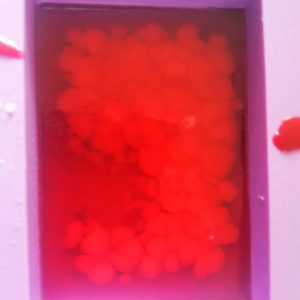
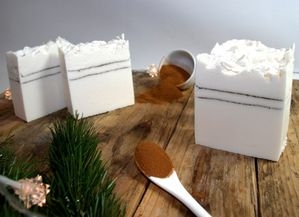
Figure 3: Patience is a virtue, this was a disaster due to lack of patience in letting the first layer set properly.
Well, this I still struggle with to this day. I find myself over enthusiastic to see a soap once it is done that I do not wait long enough for it to set. This is particularly true when making layered soaps. Patience is the key to layered soaps, wait until one layer has set before adding the next. Trust me, it is easier said than done! When I did wait long enough for layers I often found that the layers would come apart. A simple technique to use is to use a fork. Scratch one layer slightly so the next layer has something to stick to and also apply a teeny spray of the rubbing alcohol for extra adhesive.
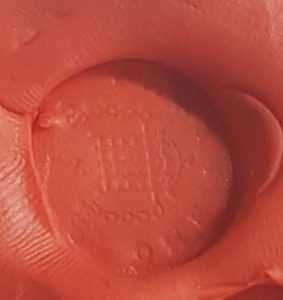
Figure 4: Penny mould using Fimo.
I love my moulds but found the more I progressed in my soaping journey the more I wanted new moulds, and they are not cheap! So along with curbing my appetite for copious amounts of moulds, I also bought a silicone mould base and some Fimo to make my own moulds. By making my own moulds from everyday things like pennies, costume jewellery, my husband’s kilt pin and such like, not only did I get more moulds I also got unique moulds. The list of what you can use to make the moulds are endless; I have seen someone make a silicone mould from frozen berries from their freezer for example!
These are what I use to make my soaps stand out. They are fiddly and annoying but do add another dimension to your soap. I have been asked if the flowers were piped but sadly I am not that skilled and these are done using a mould. I also use cookie cutters to make embeds and have recently tried using different size circular cookie cutters to make lemons. You definitely need patience to make them! 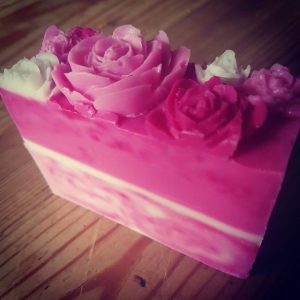
Figure 5: Floo'ers soap bar using flower embeds to decorate the top of the soap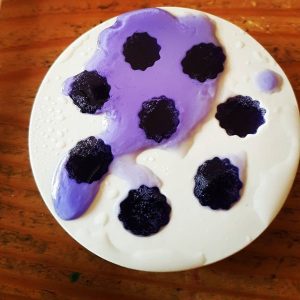
Figure 6: Blackberry embeds being made (messily), for Bonnie Berry soap bar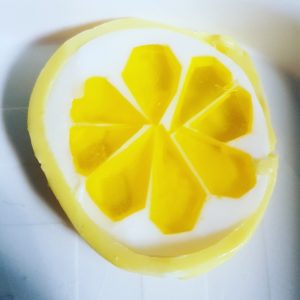
Figure 7: First attempt at making a lemon using different size circular cookie cutters
I am a big fan of patterns, before chucking out anything have a look at the pattern on it; it can make a wonderful design for the top of a soap! My best results to date came from a pork pie container that had a lovely crisscross design on the bottom of the plastic packaging that held said pies. Another, probably more well-known tip, is using bubble wrap on the bottom of your soap mould to make it look like honeycombs. It does work a treat, just try not to pop the bubbles before using it!
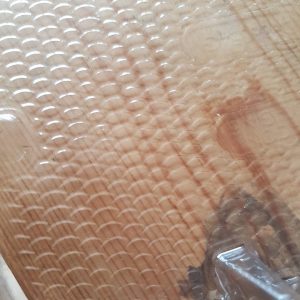
Figure 8: Porkpie packaging makes a great imprint for soaps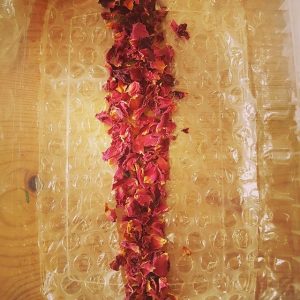
Figure 9: Bubble wrap to make a honeycomb effect.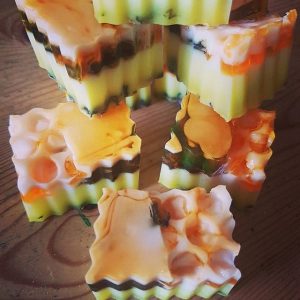
Figure 10: The outcome of bubble wrap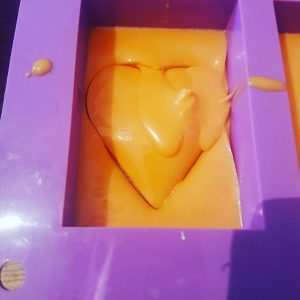
Figure 11: This is what happens when you are too impatient for your mould to set when making embeds.
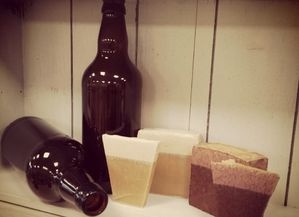
When I started my soap making journey I was making gemstone soap in plastic cups, to set these I popped them in the freezer. What I found is that if I left them in the freezer for too long not only would the layers come apart but the soap would start sweating. For that reason, I would recommend setting the soap at room temperature. I have had no sweating from the soaps this way. I usually leave my soaps well alone for a few hours to set naturally before unmoulding them and wrapping them in cling film for a day before shrink wrapping them. Anyone who reads the Bubble Trouble blog or follows me on Instagram will know my hate for shrink wrap but alas it seems the best way to wrap melt and pour soap.
It is totally cliché, I know, but it is a case of keep practising. Every failure you learn something new. I have found using failure as a learning block has helped me progress so quickly within the soaping world and there are so many fellow soapers out there willing to help and give advice on many aspects of melt and pour soap making. I still have not perfected the craft by any manner or means and I have found that soap making is a continual learning curve. I have also found a community that is supportive and encouraging of fellow soap makers and I hope I can emulate them if any future soap makers come my way for advice. My final piece of departing advice is to have fun with it; share your experiences with others and laugh.After all, what is soap making without putting your heart and soul into it? [divider] If you want to check out Bubble Trouble's products online, or read more check out the site HERE at or follow them on Facebook HERE!
You can download all this useful information here as a handy pdf file.

Plus, stay up-to-date with the latest news, tips, offers and inspiration from members of The Soap Kitchen community.

.jpg)
.jpg)
.png)


Leave a comment
Login to post comments